Robotic Skin for Underwater Exploration
Project type
3D prototyping: 3D printing, mold making, microfluidics
Role
Prototype engineer
Date
January - June 2021
Description
I worked as a prototyper for the Posner Research Group at the University of Washington, where I help build a robotic skin. This skin enabled a robot to sense the force of its grip, so it could carefully lift very delicate things. The whole thing was made to work underwater. I prototyped microfluidic resistors and 3D printed molds for the silicone skin. This case study demonstrates several of my rapid prototyping skills.
The Problem
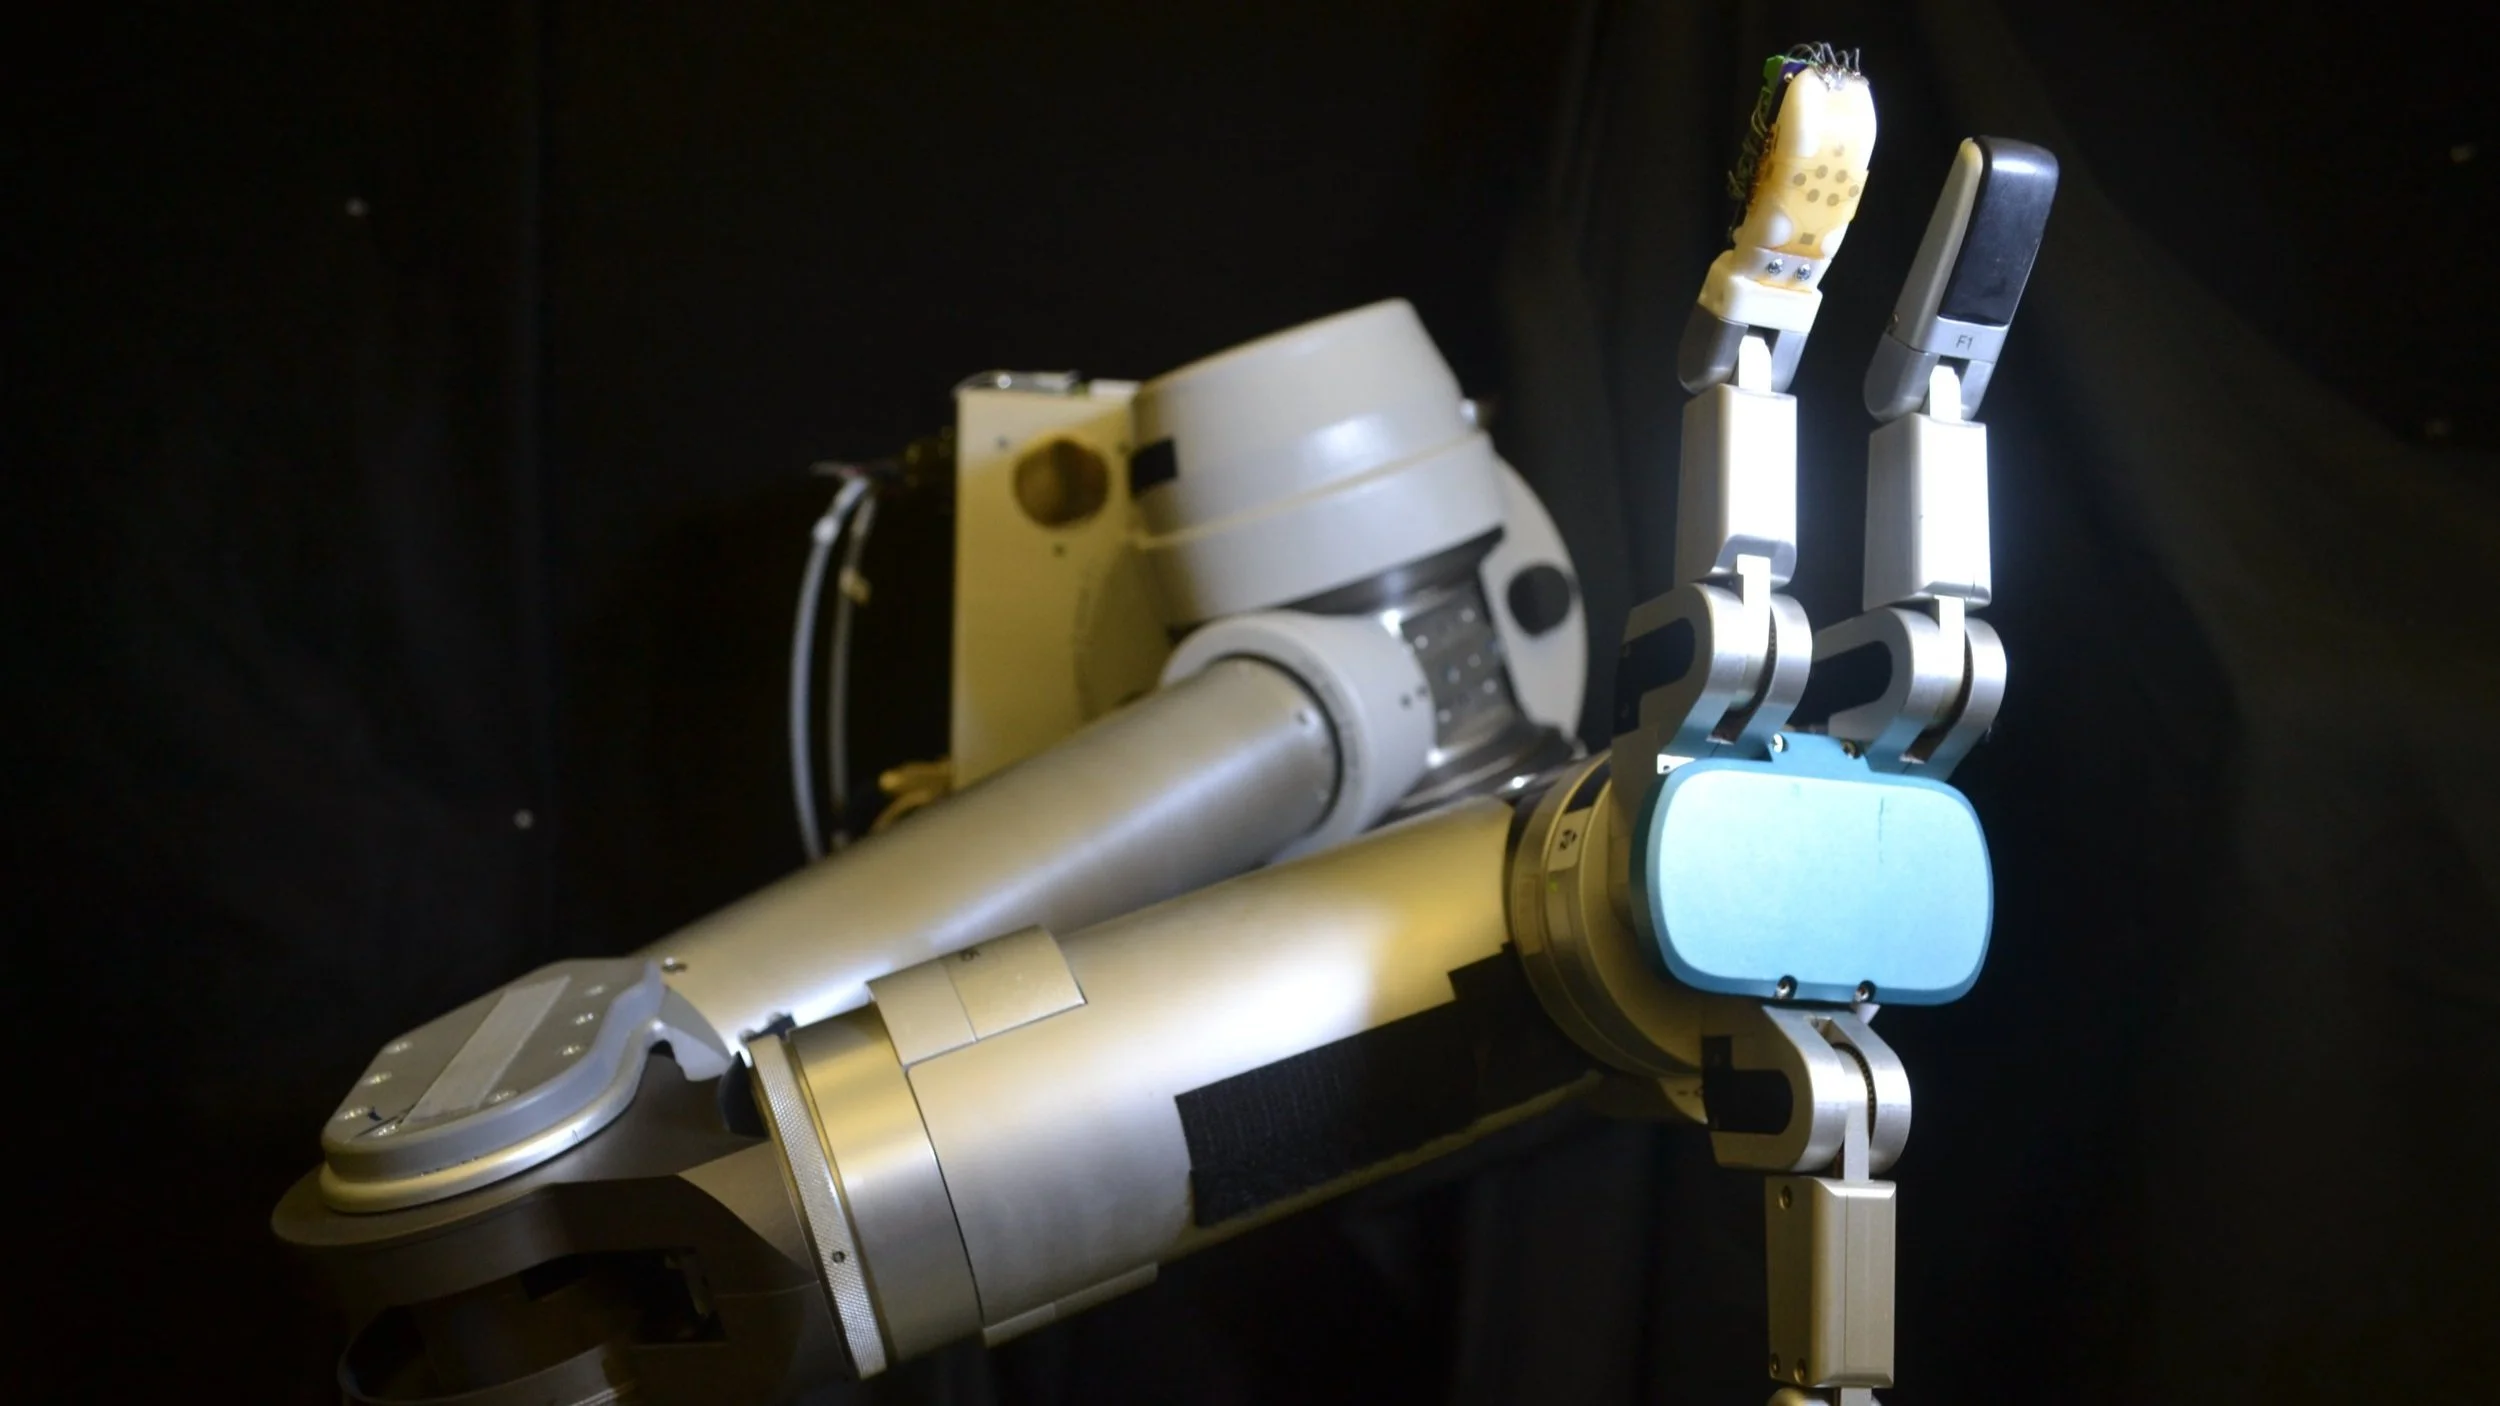
On this project, I was a prototyper for exciting new technologies. The goal was to create an artificial skin that would go over a robotic finger. The skin would enable the robot to feel the force of its grip so that it could carefully pick up very delicate things. The major challenge with this was that it had to work deep underwater. Rather than rely on standard electronics, we built force sensors using microfluidic channels of conductive fluid. The skin was built out of silicone, cast out of a 3D printed mold.
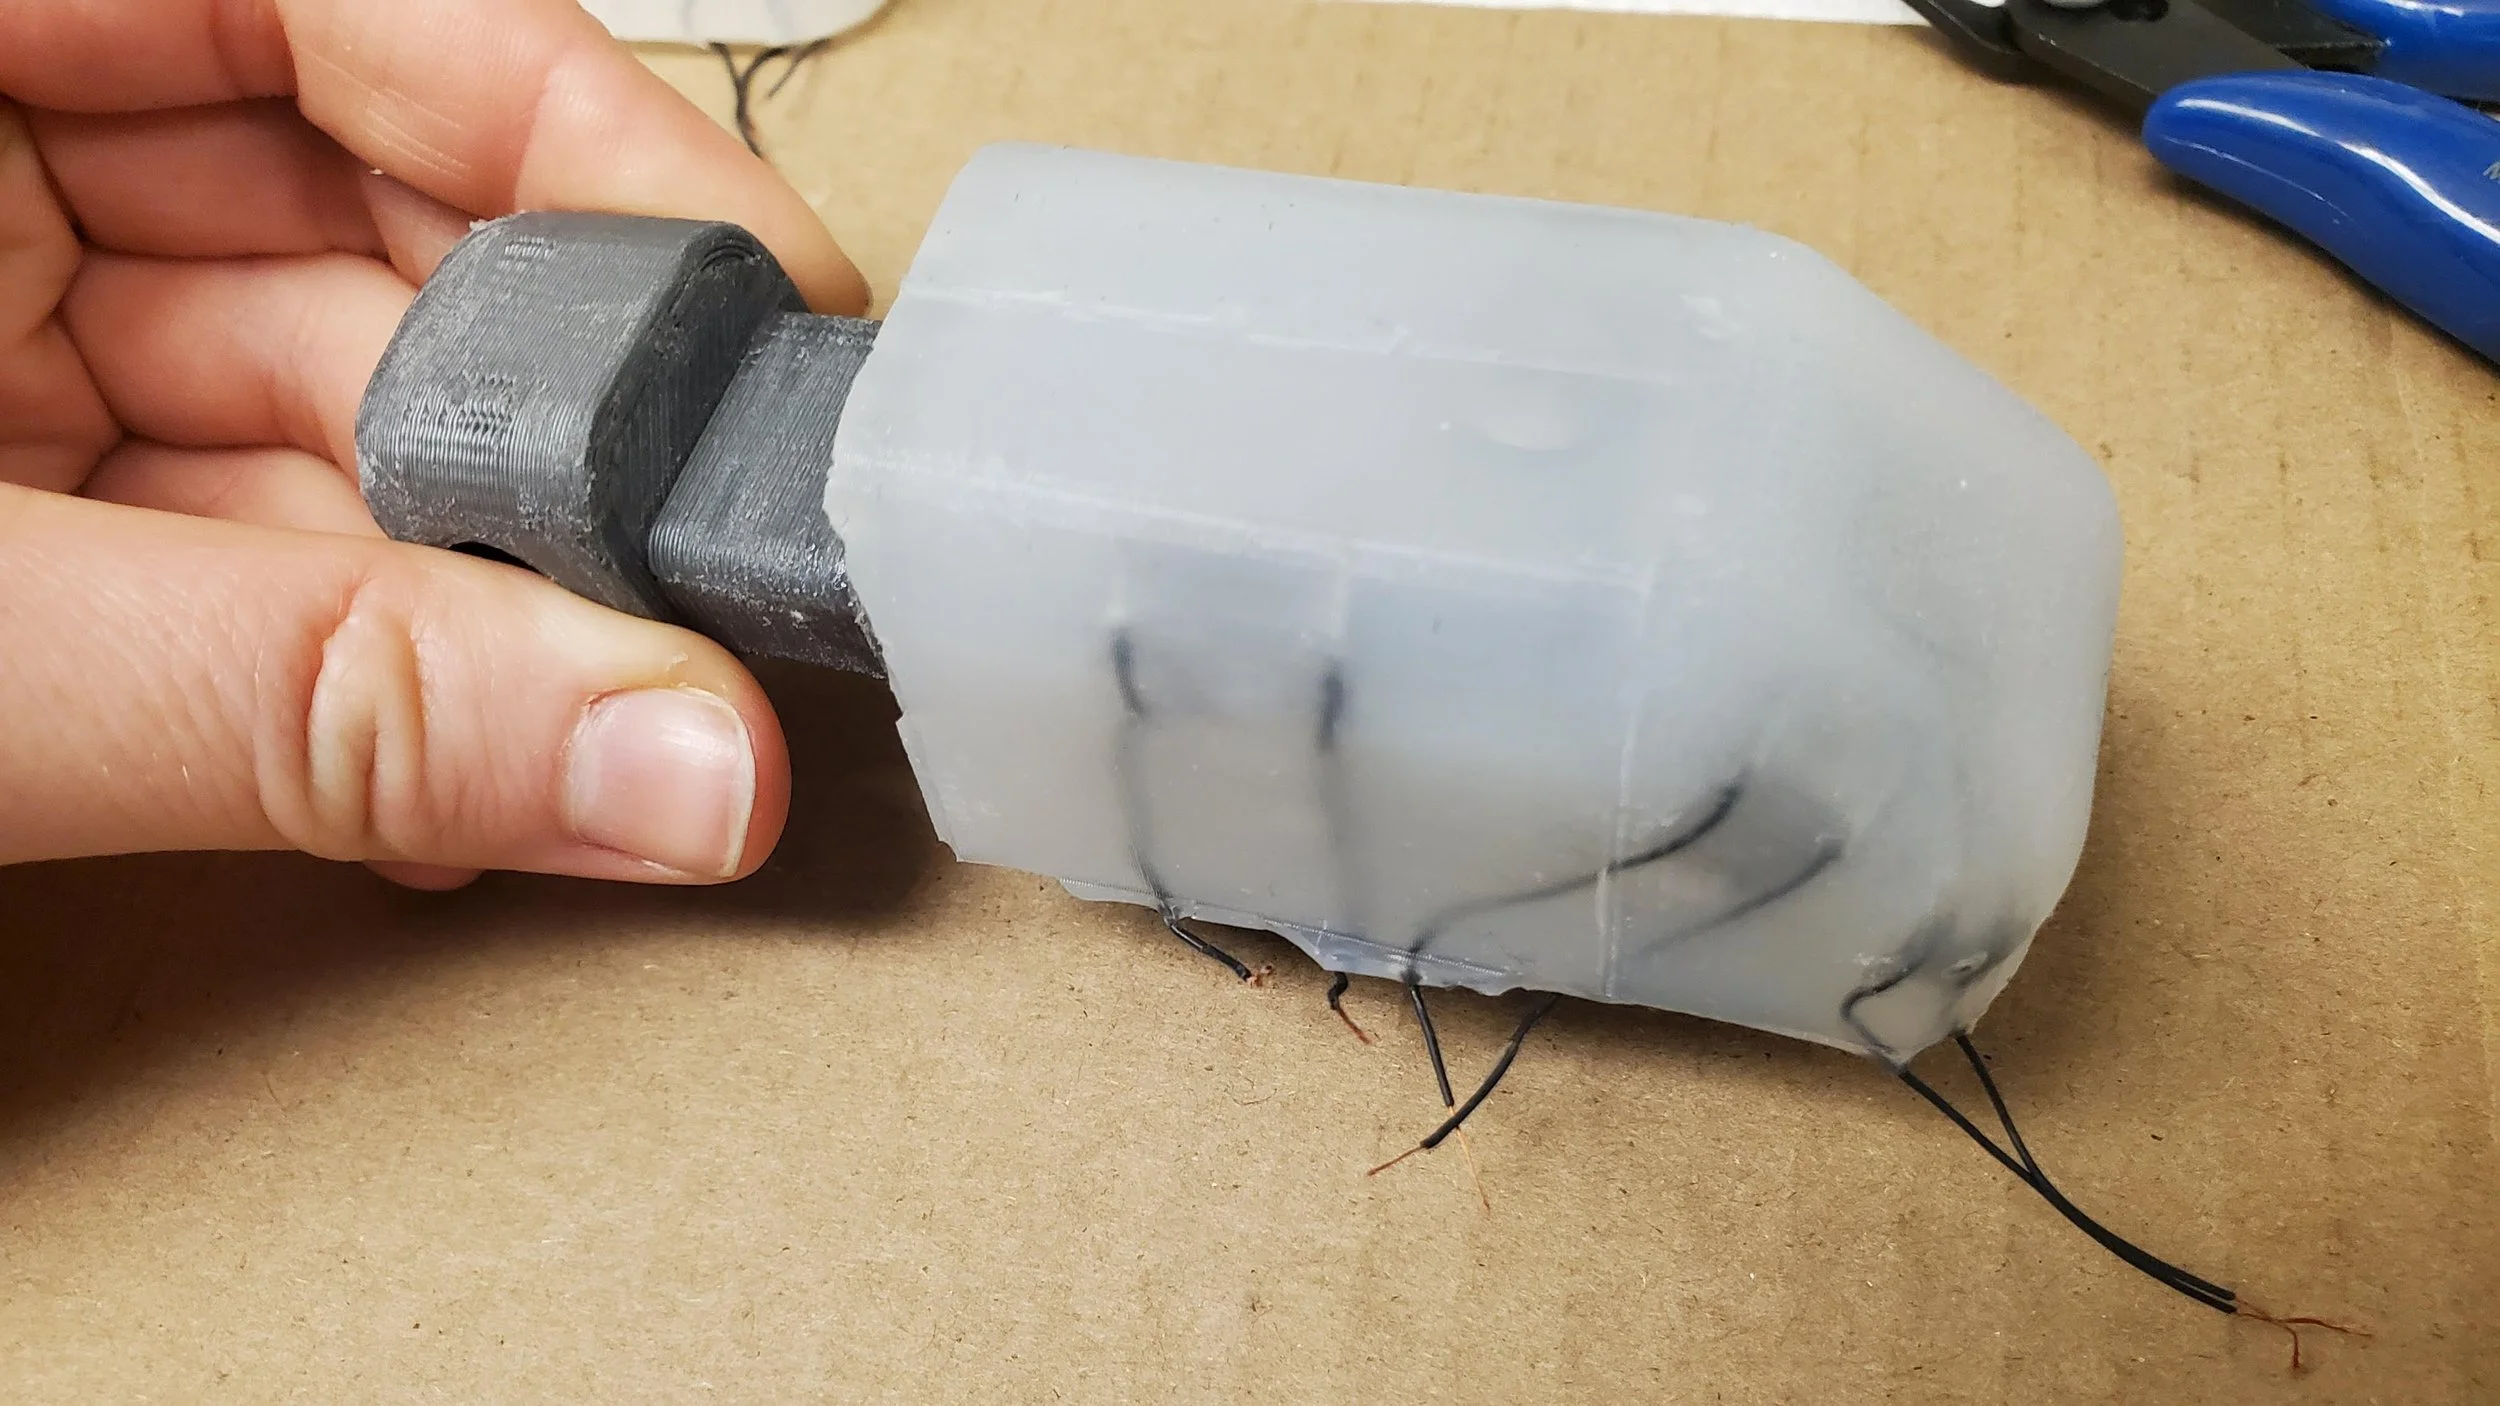
The artificial skin made of silicone (white) with wires sticking out from the microfluidic sensors. It’s wrapped around a mock robot finger that’s been 3D printed (gray).
Microfluidic Force Sensors
I worked in a wet lab to create the microfluidic force sensors. The sensors were made of small channels in silicone filled with conductive metal. When the sensors were pressed, the channels deform and the resistance along the conductive metal changes.
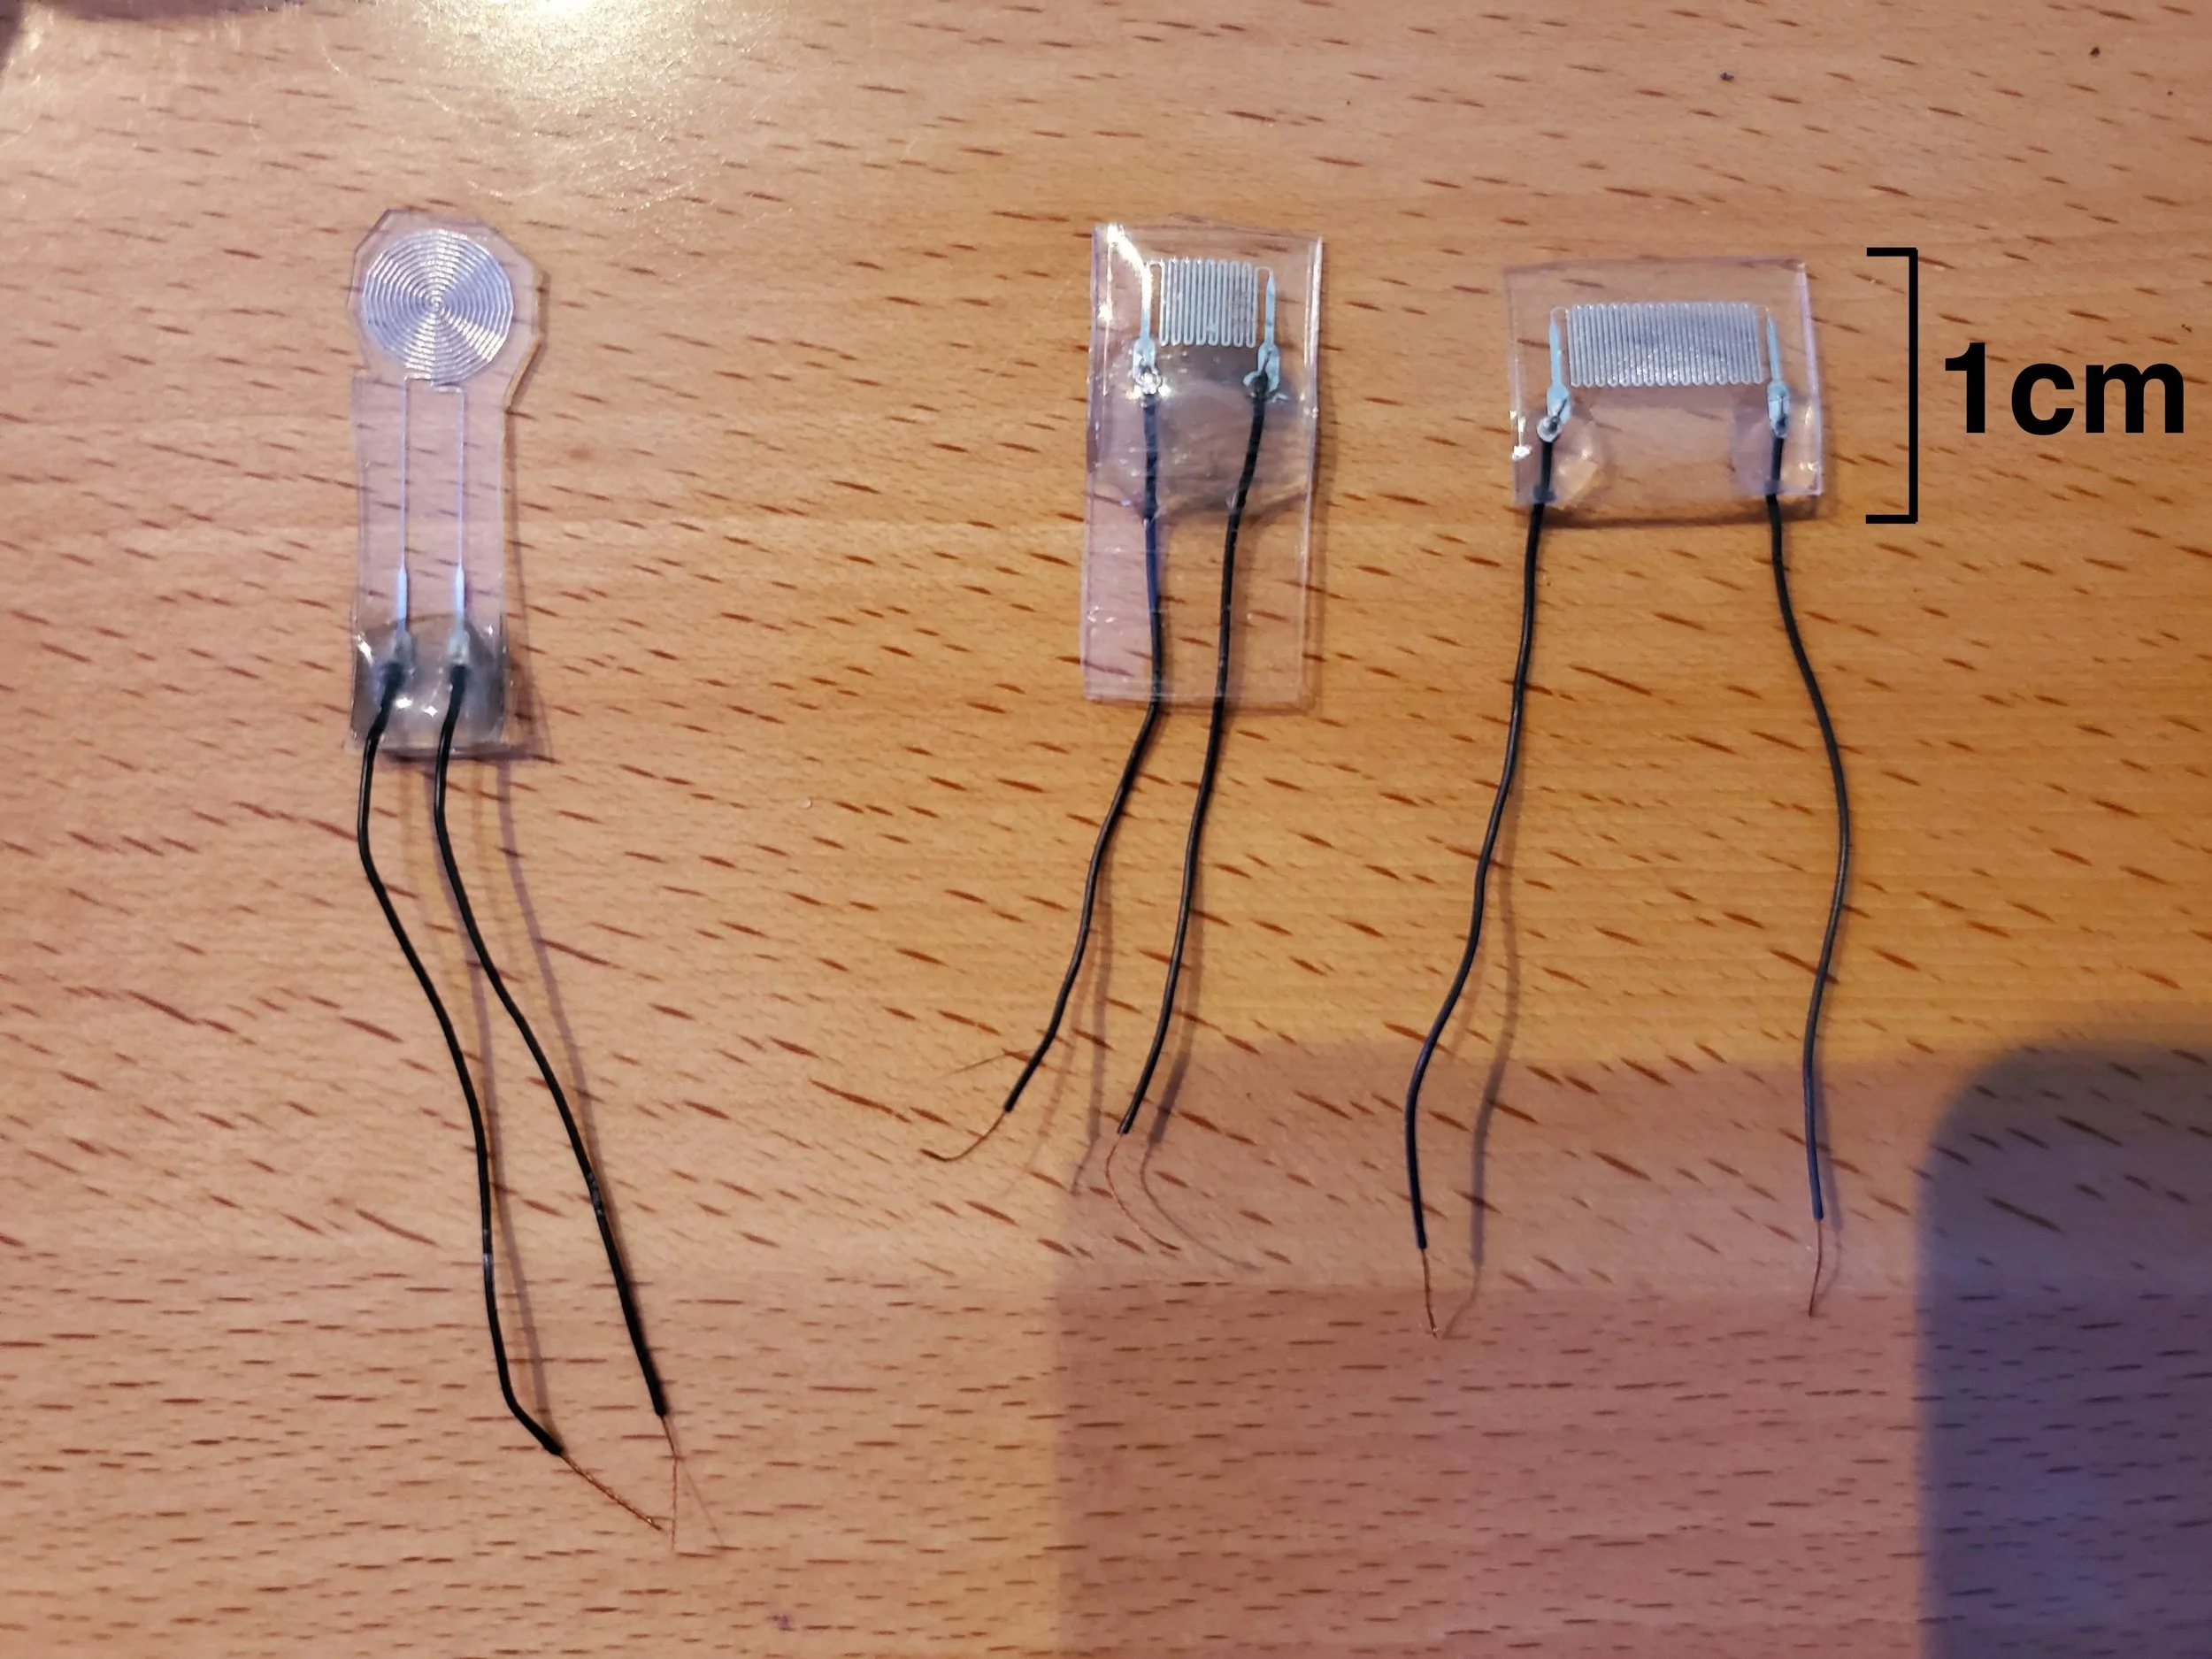
Three different shaped microfluidic sensors. Embedded in the clear silicone are microchannels filled with silver conductive metal. When deformed, these sensors change their resistive value.
We created the microchannels by pouring the silicone on top of a mold. The mold was precision cut with a mill onto the same material used to make PCB boards. The empty channels were then filled with liquid conductive metal via a syringe.
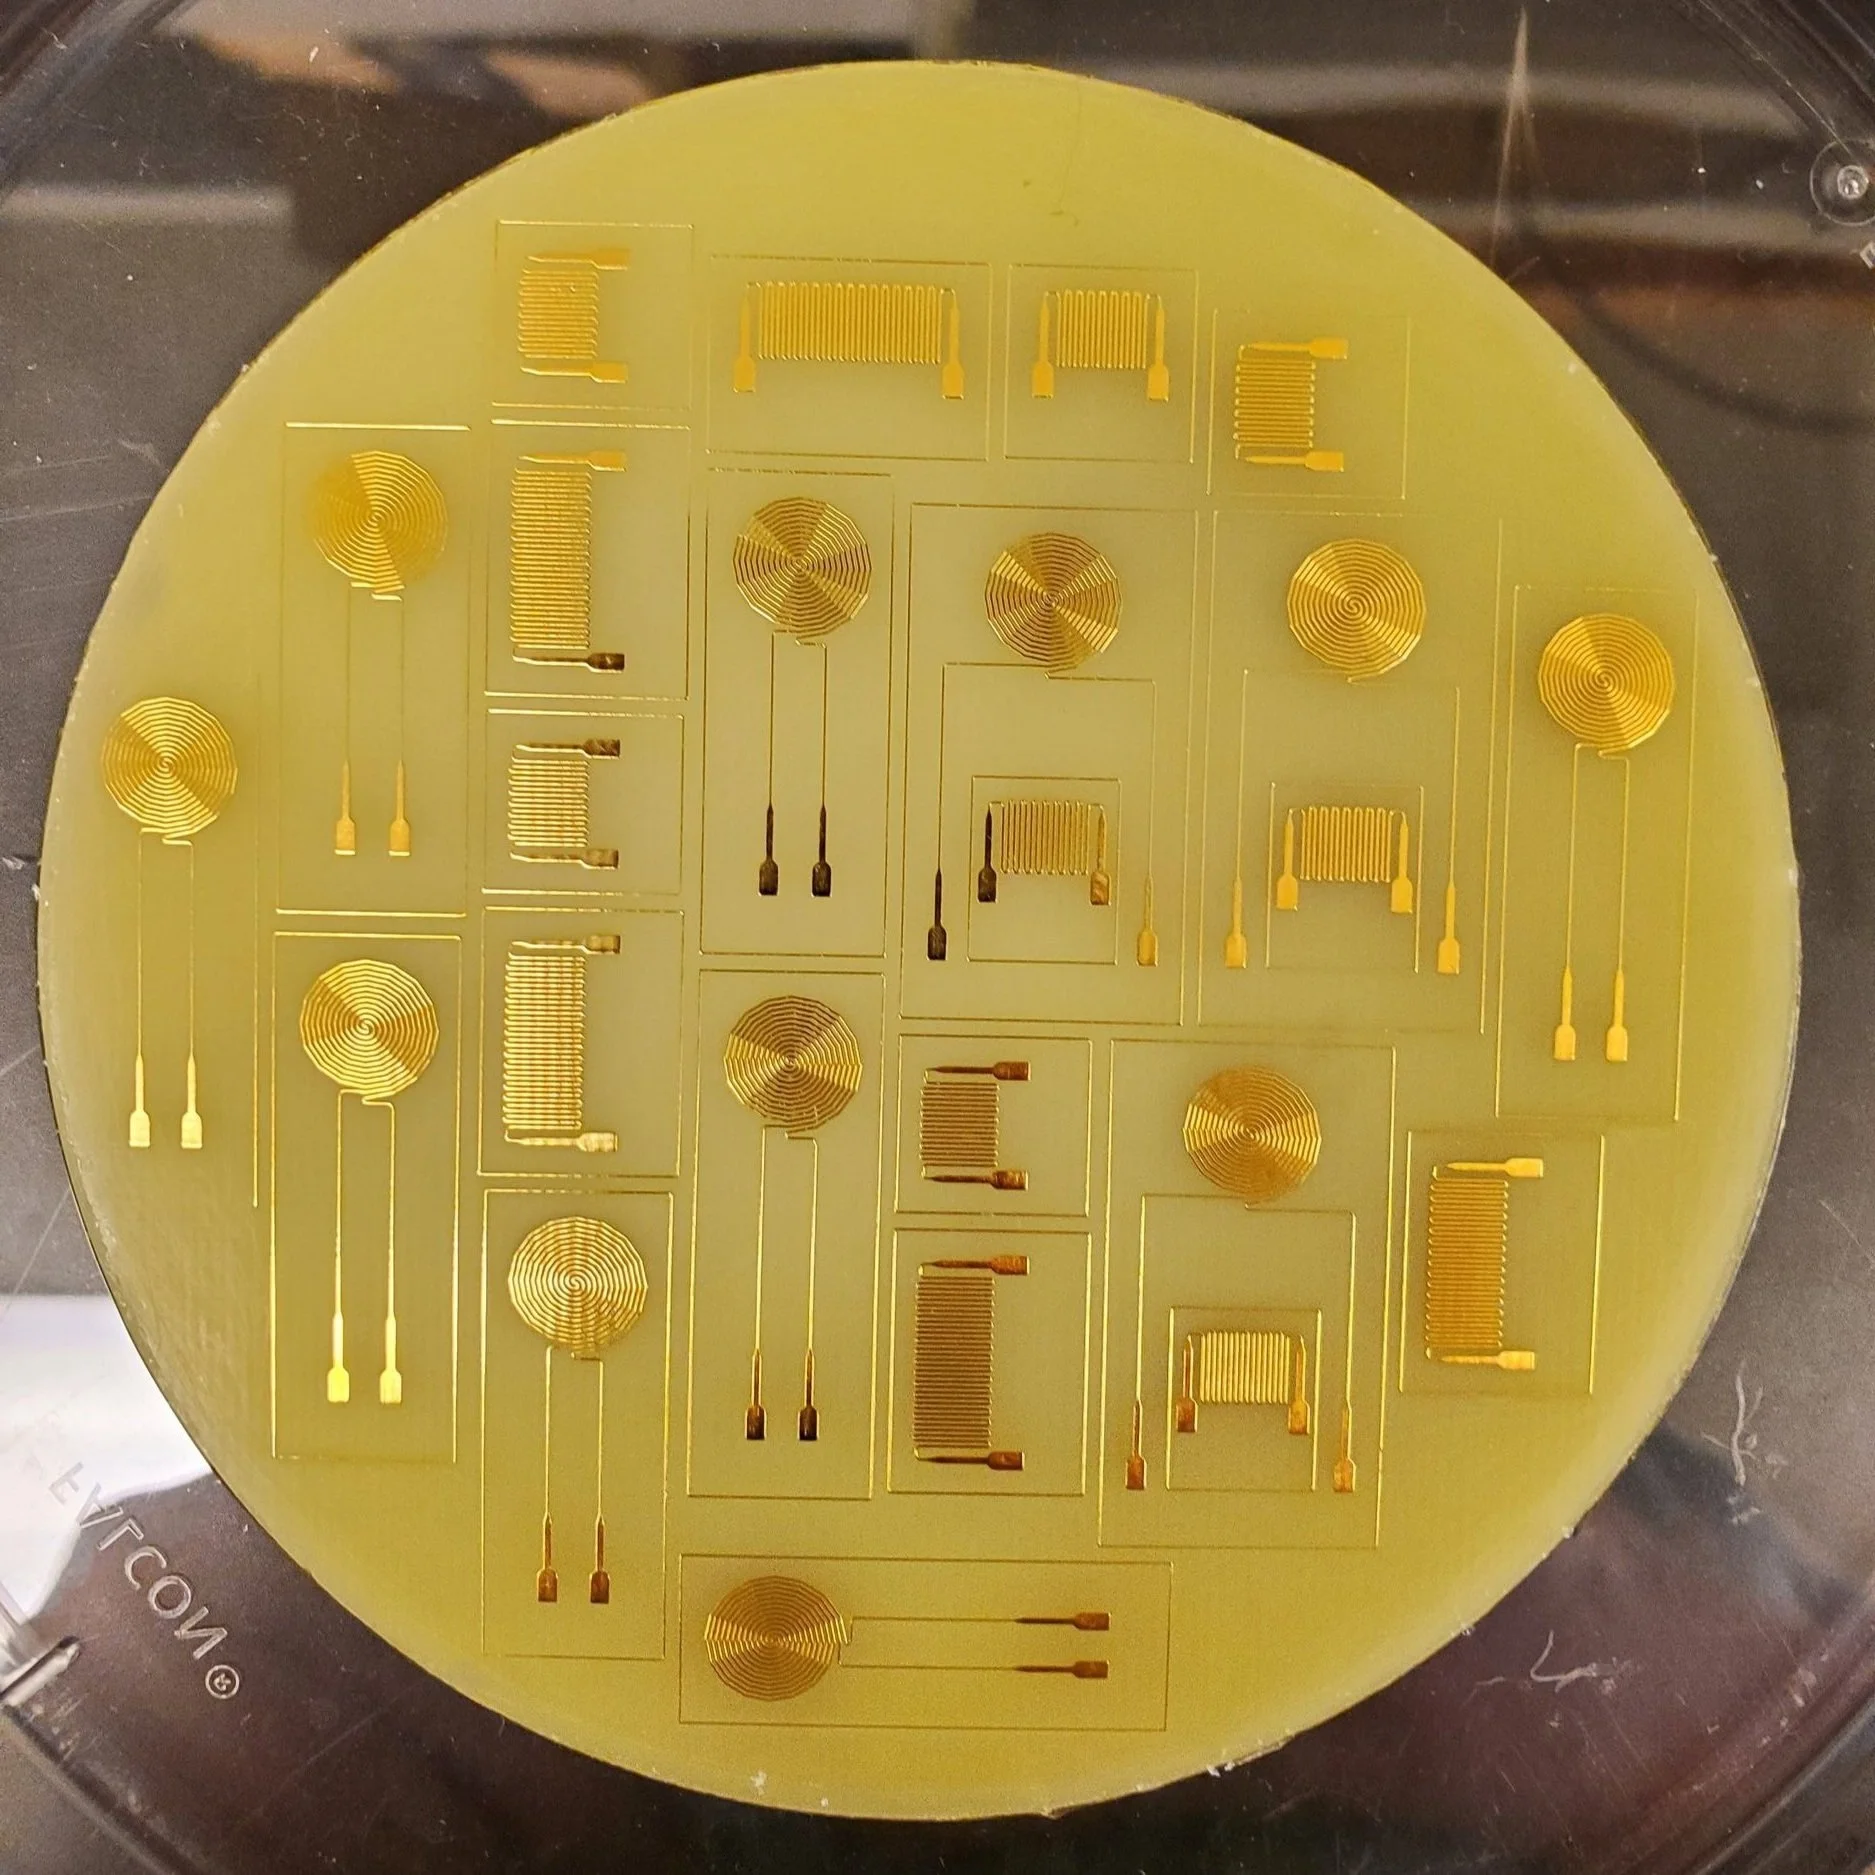
A mold for the channels of the microfluidic sensors.
Silicone Skin
The skin was made of two layers of silicone. They were cast in 3D-printed molds. The first layer of silicone is cast, then the microfluidic sensors are attached, then the final protective layer of silicone is applied.
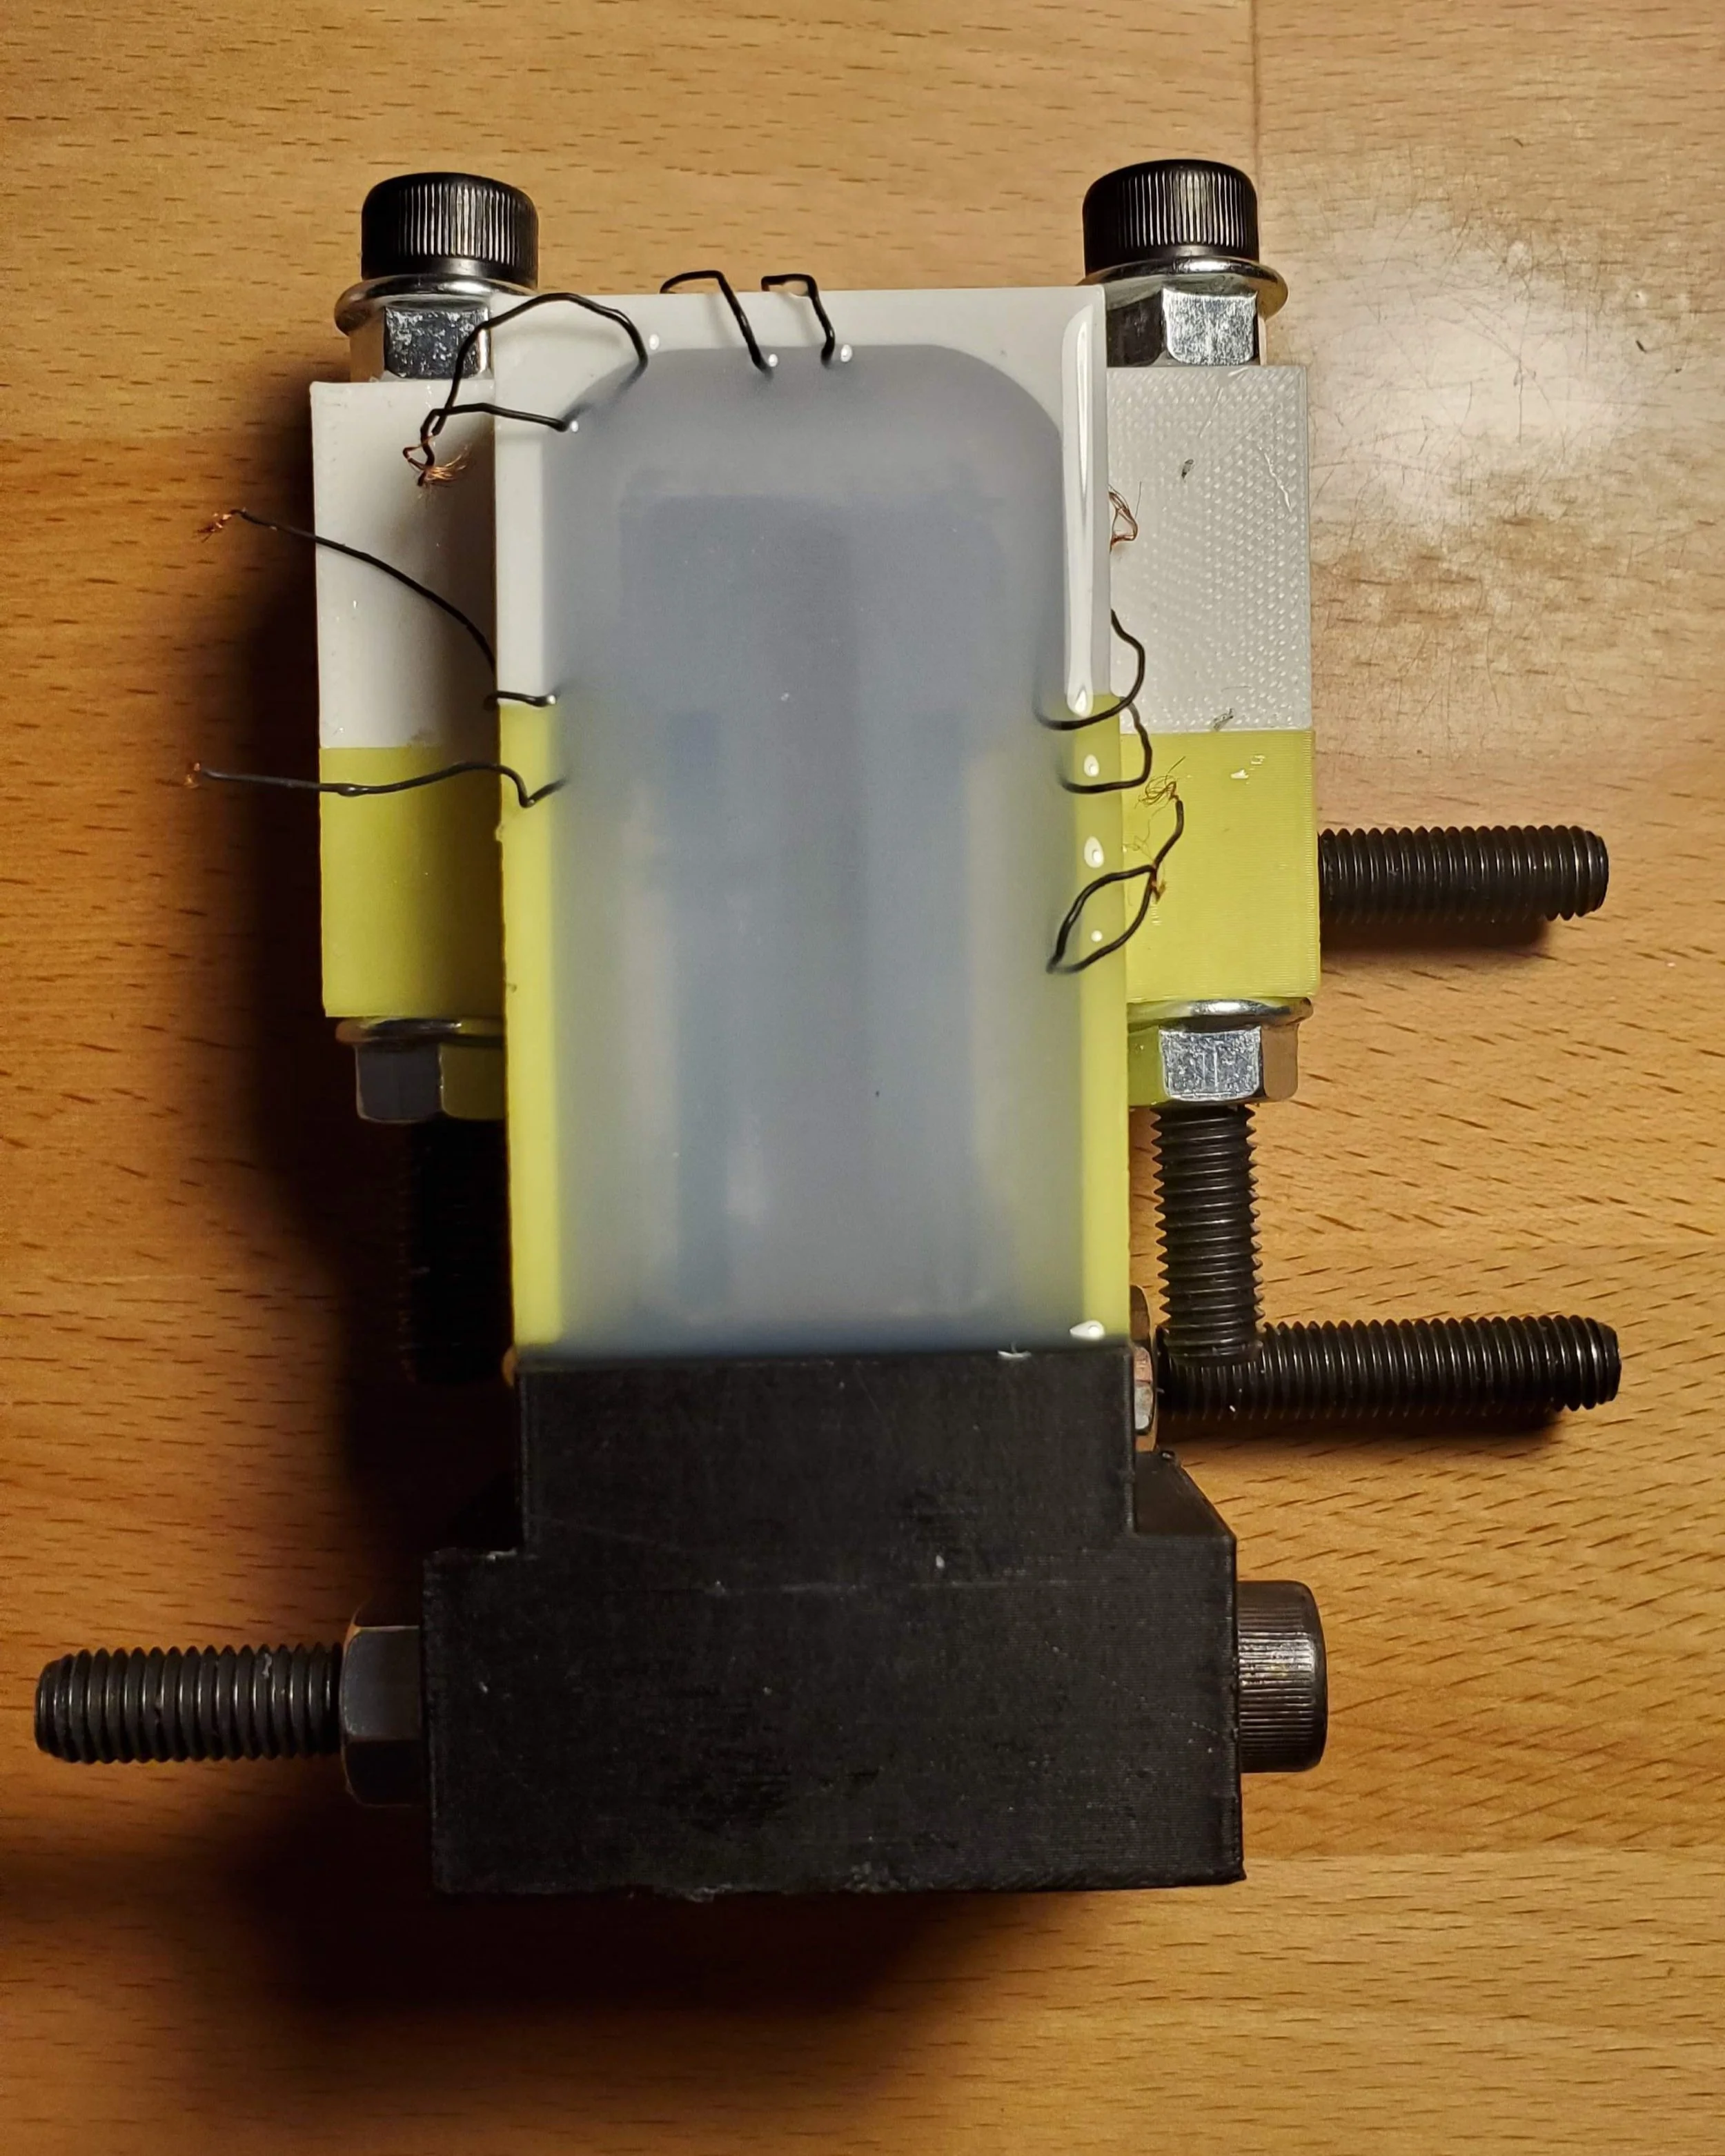
The robototic skin inside of its 3D printed mold.
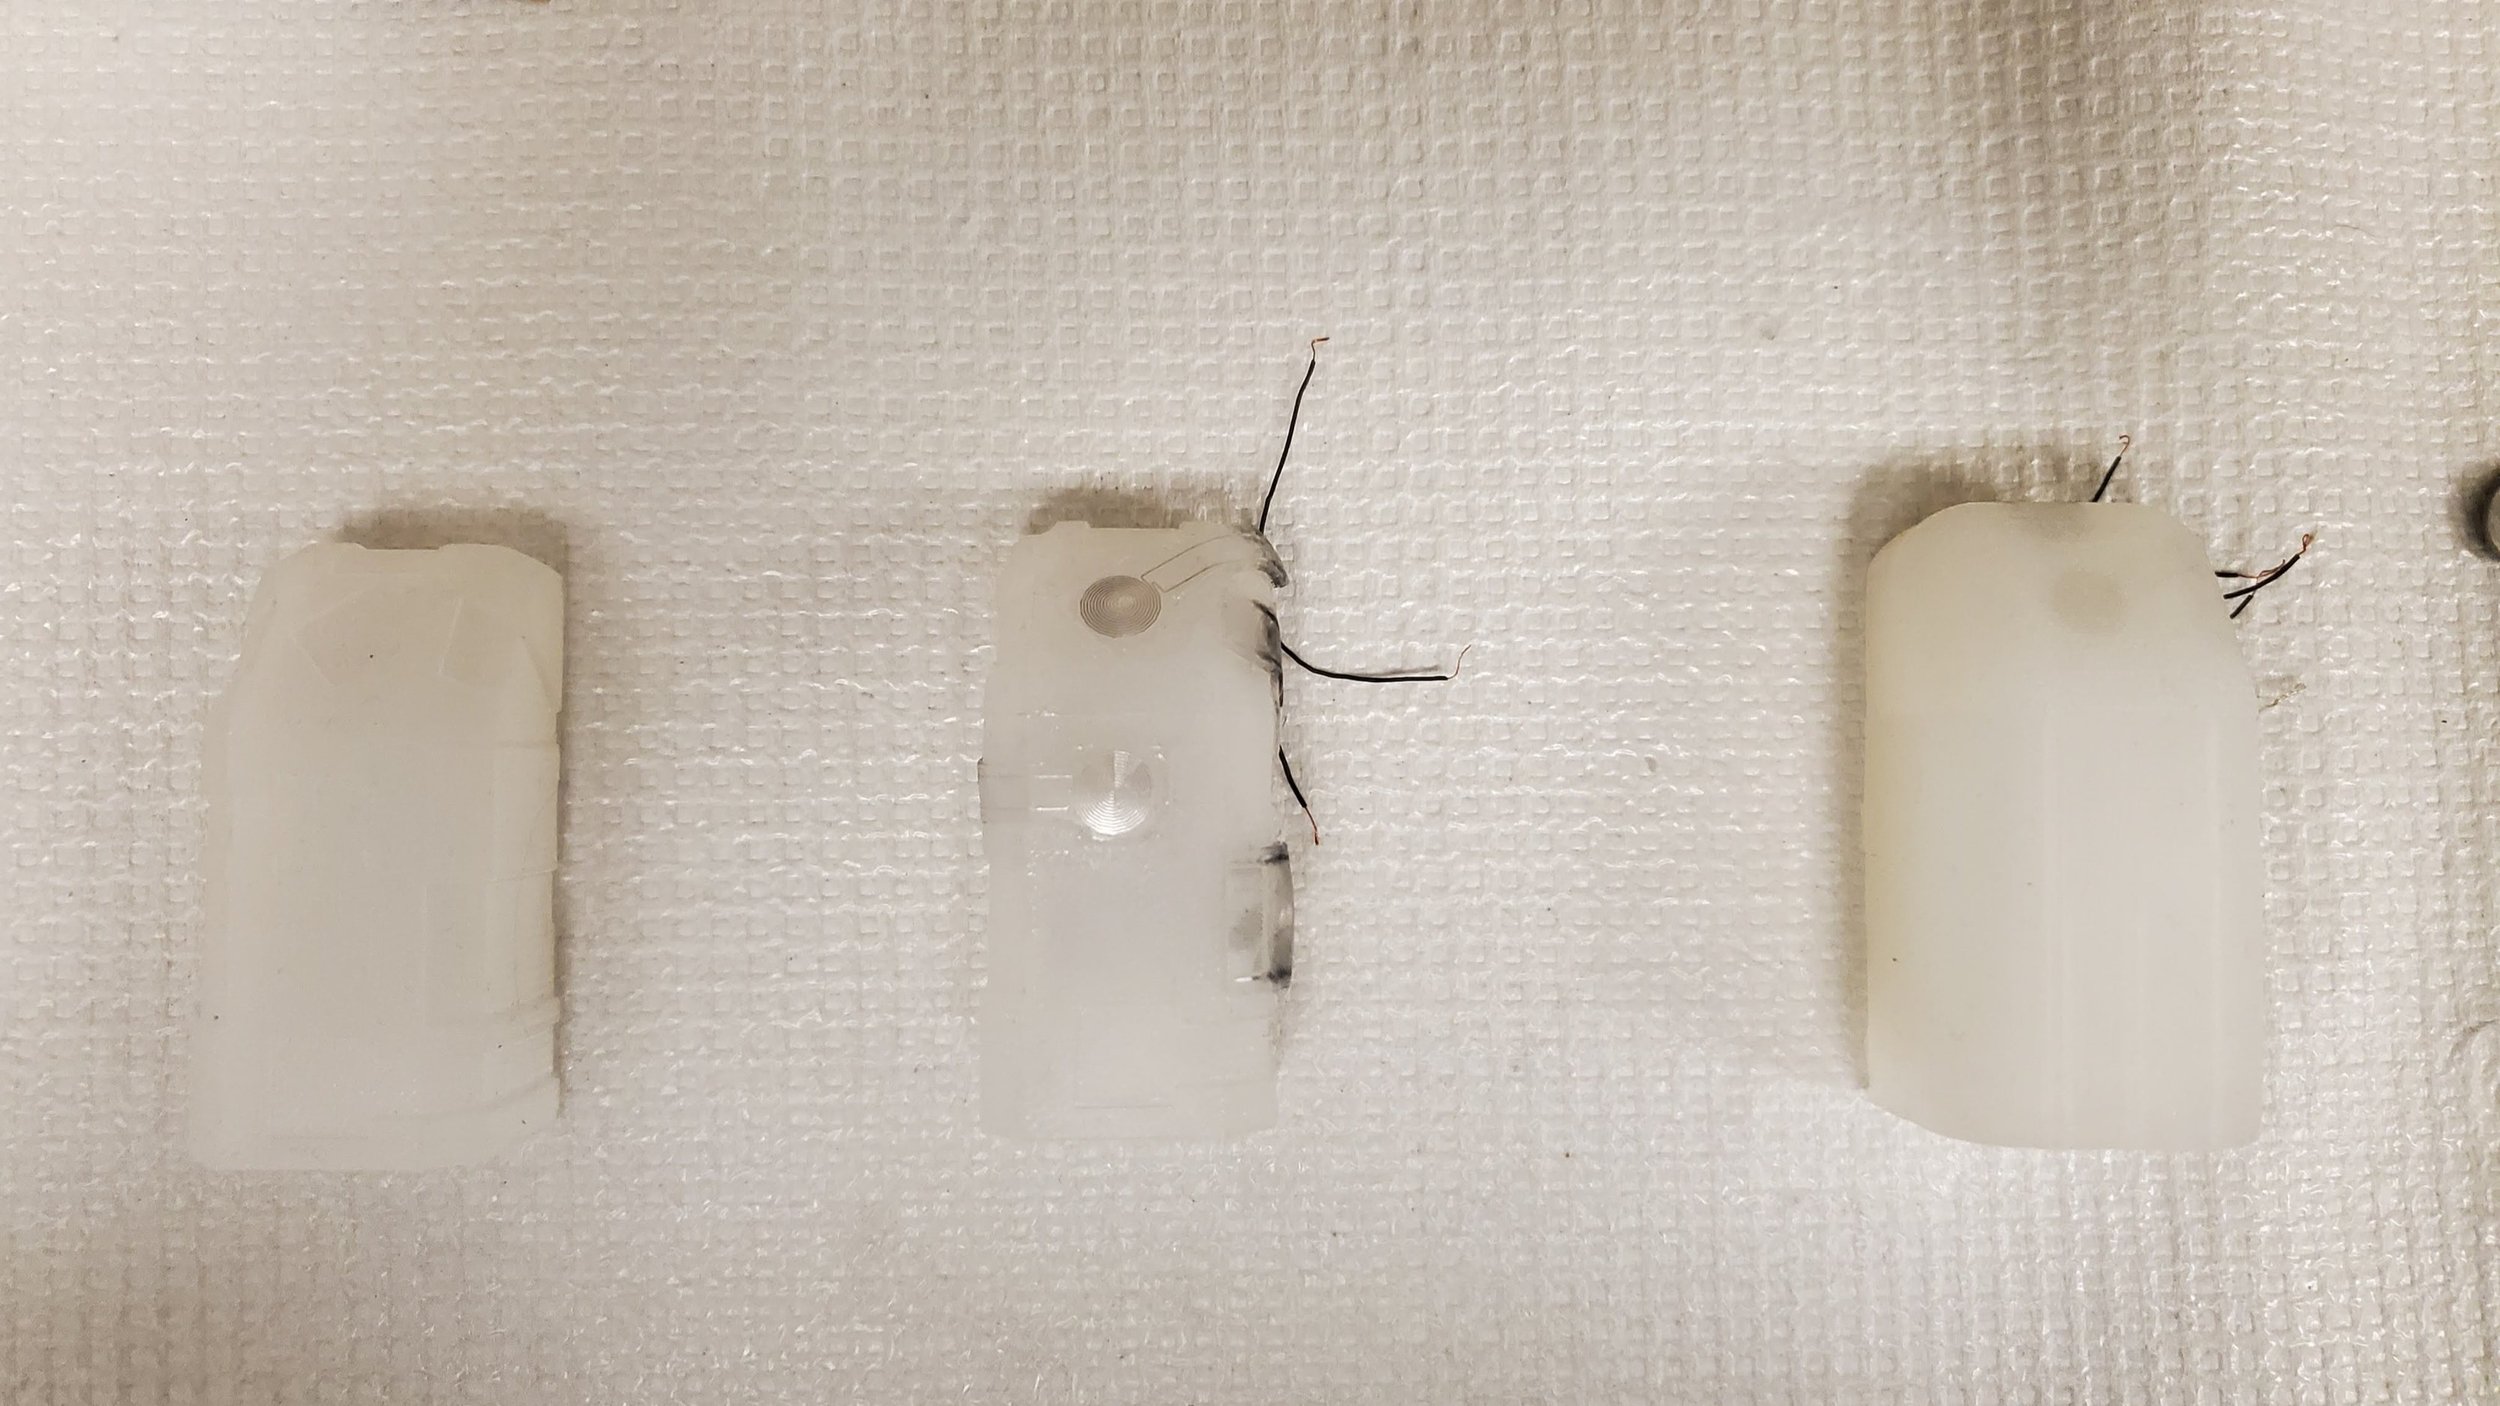
The three stages of the artificial skin. Left, is the first layer of silicone. Middle shows after the sensors have been attached. Right shows after the second layer of silicone has been applied.
3D Printed Mold
The mold for the skin was made of several 3D printed parts and bolted together. This made it so the mold was easier to take apart and put back together.
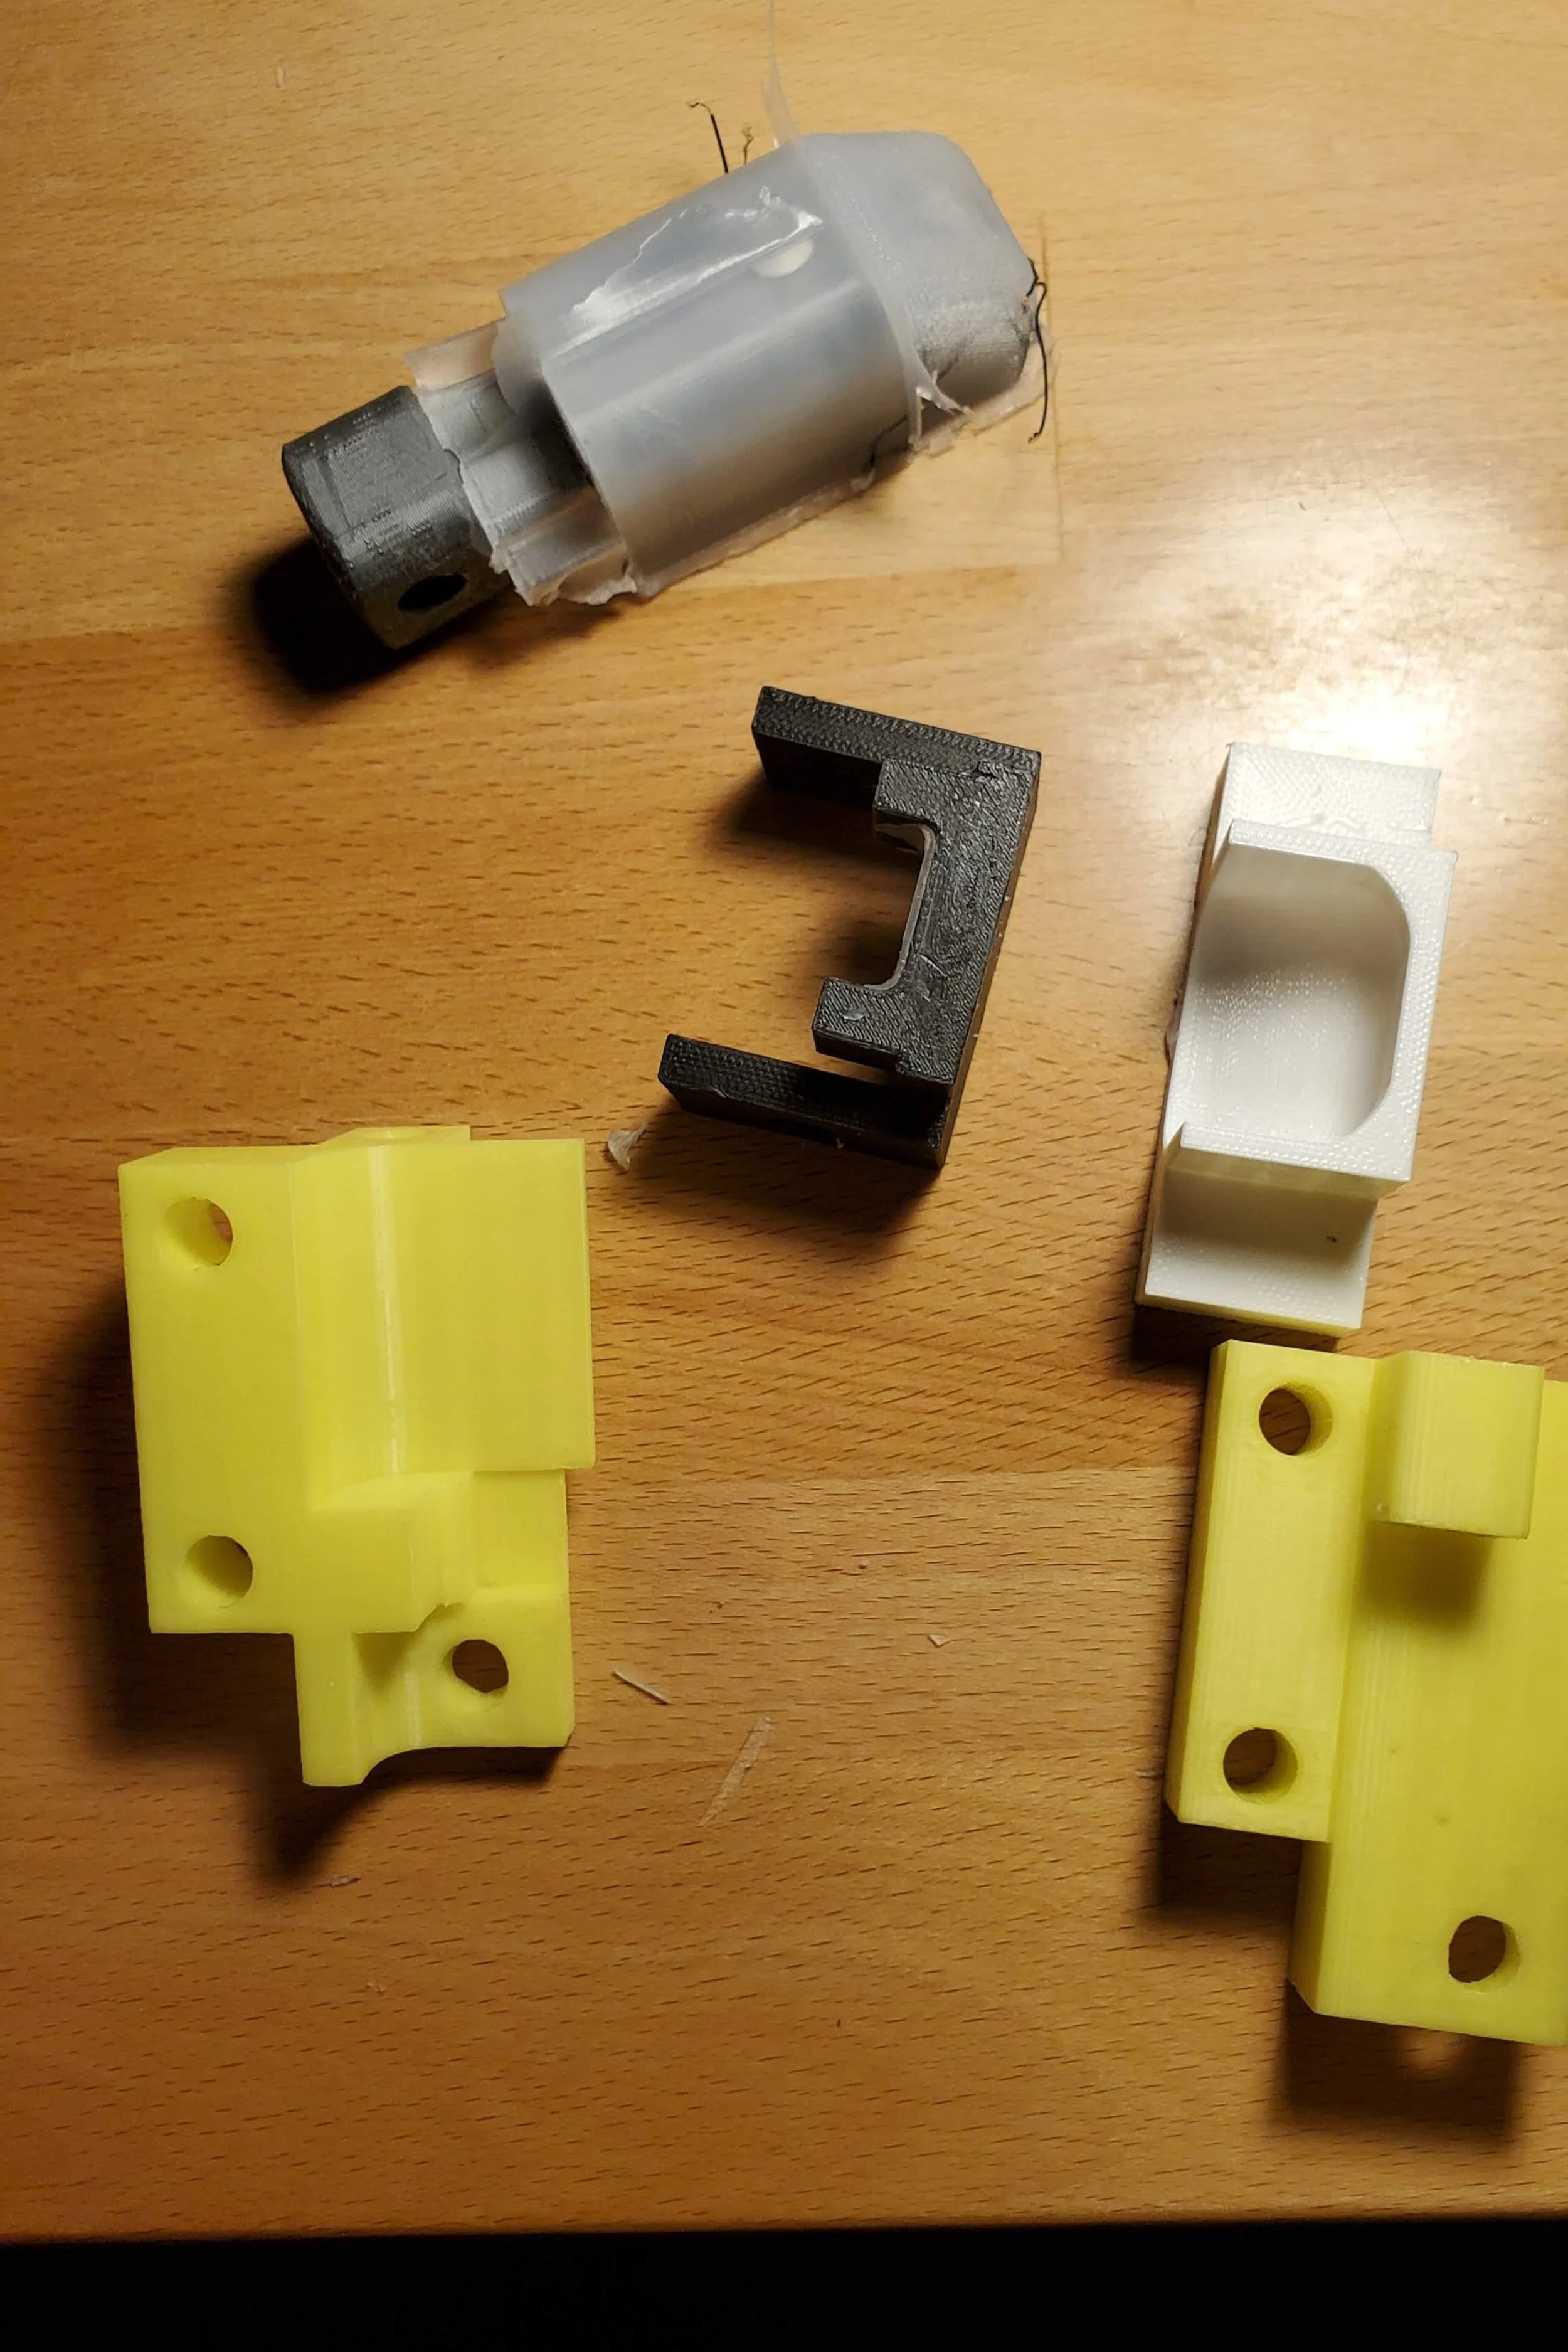
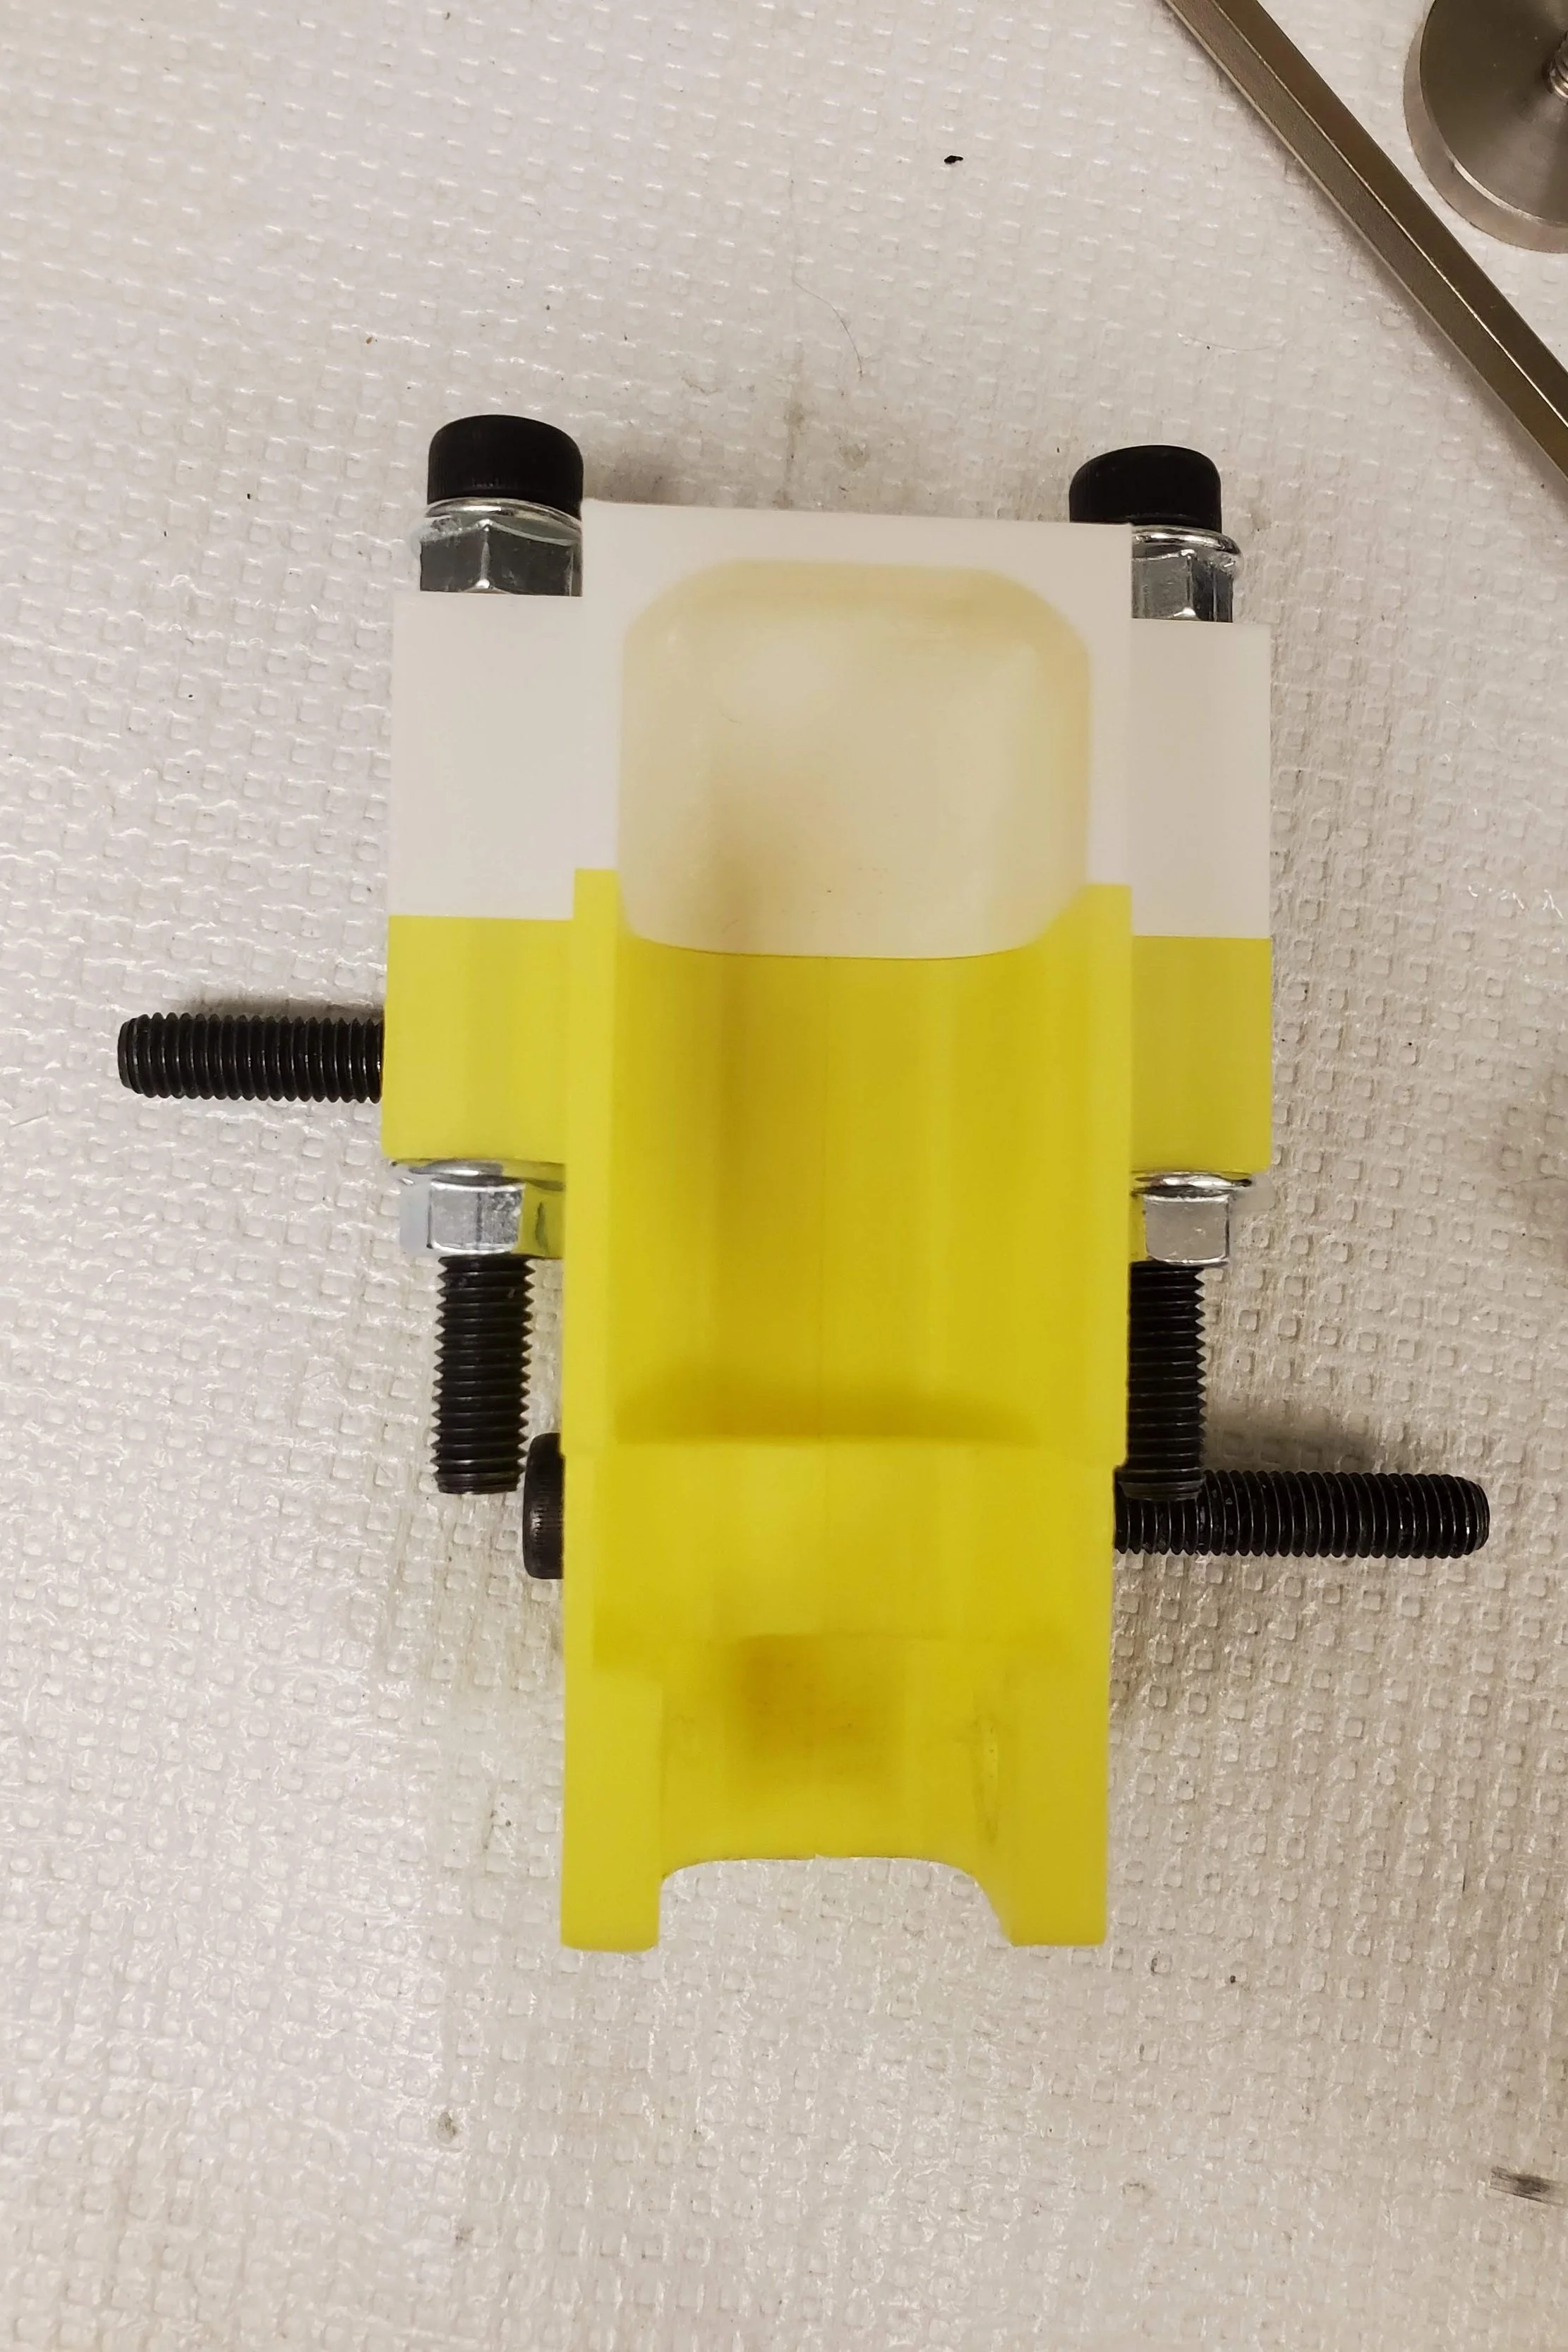
The mold was made of several 3D printed parts that were bolted together.
3D Printer Troubleshooting
When I started on the project, the Prusa 3D Printer available to the lab was not working. It wasn’t printing properly and would just clog every time we ran it. I was tasked with troubleshooting the problem, though I had not done maintenance work on a 3D printer before. I took the entire hot-end apart and found that a necessary Teflon tube had been removed. The tube’s purpose is to keep filament from sticking so without it, the machine was clogging.
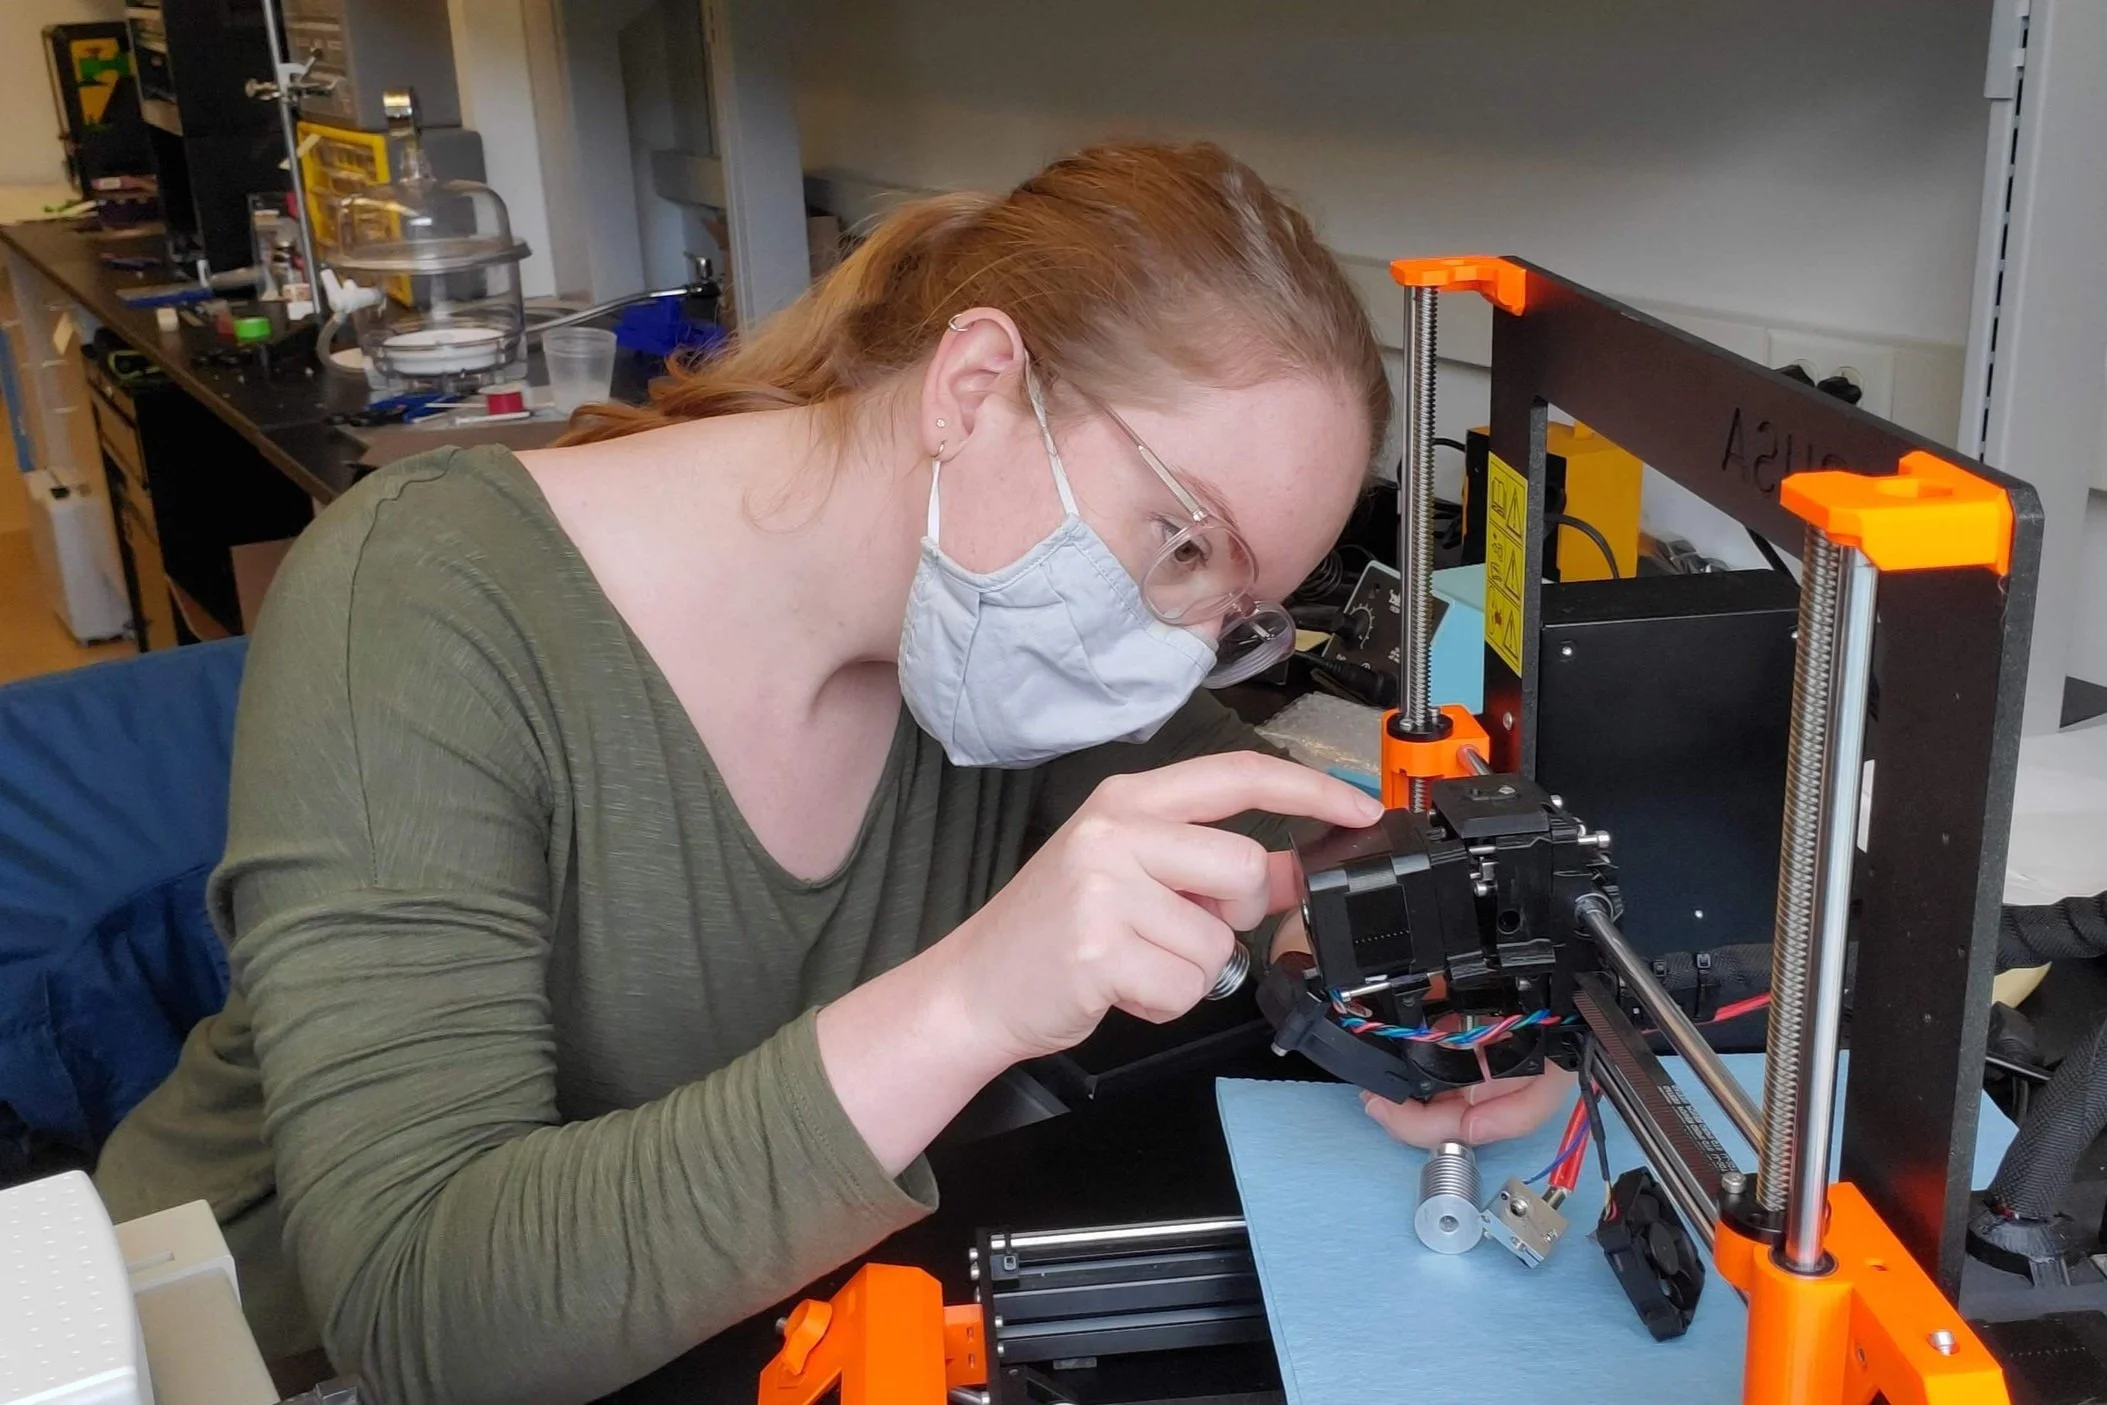
I was tasked with troubleshooting and maintaining the lab’s FDM 3D printer.